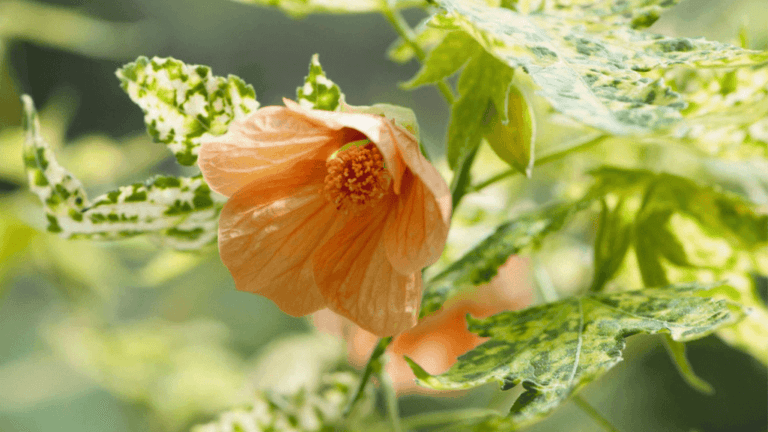
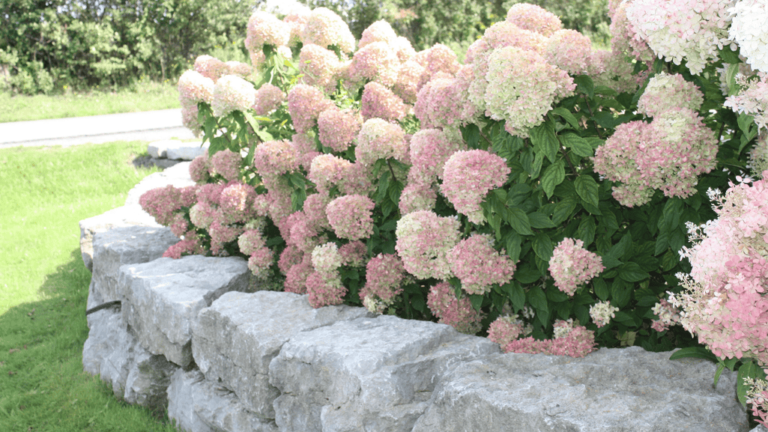
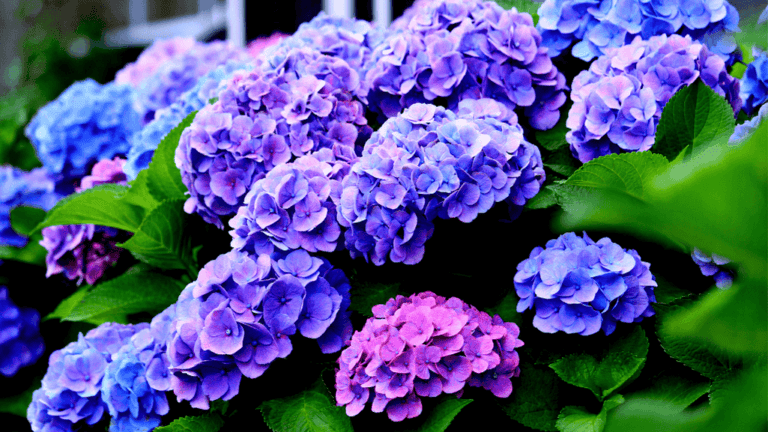
Beautiful flowers gardenia Plants For Your homes

Camellias come in over 250 species and more than 3,000 types. They are loved for their bright flowers and evergreen leaves. These plants make gardens beautiful all year, even when most plants are asleep.
To keep your camellias thriving, you need to know how to care for them. This includes picking the right type for your climate and how to plant and care for them. With the right care, camellias can become a key part of your garden.
Key Takeaways
- Sasanqua camellias bloom in the cooler mid-fall to winter, while japonica varieties brighten winter through early spring.
- Camellias prefer slightly acidic soil (pH 5.5 to 6.5) and morning sun. They are essential for a lush, vibrant garden.
- Consistent watering—about 1″ per week with rainwater—is vital for camellia’s health and the longevity of their blooms.
- Minimal pruning, complemented by timely fertilization, enhances the beauty and resilience of these blossoms.
- Selecting from popular varieties such as Setsugekka, Nuccio’s Bella Rossa, and Kanjiro ensures a dazzling display of diverse camellia blooms.
- In regions like USDA Zones 7 to 9, camellias excel, particularly with varieties tailored for diverse Southern climates.
- Propagating camellias ensures the continuation of your favorite varieties through methods like stem cuttings and air layering.
Introduction to Camellia Varieties
Exploring camellias shows a wide range from Camellia japonica to Camellia sasanqua. These species are loved for their beauty and fit well in landscape design. The Camellia genus has over 400 species, adding beauty to gardens worldwide.
Camellia japonica is known for its big leaves and large flowers, up to 5 inches wide. Camellia sasanqua has smaller flowers, 2 to 4 inches, and a sweet smell. It blooms from mid-fall to winter.
The Charm of Camellia japonica and Camellia sasanqua
Camellia japonica and Camellia sasanqua are key in both old and new gardens. They come in different sizes and bloom at various times. Camellia sasanqua can handle more sun, making it great for many garden spots.
Camellias in Landscape Design: From Tradition to Modernity
Camellias mix old and new in garden designs. They can be screens, foundation plants, or stand out on their own. Choosing the right spot and type is key to their beauty and blooms.
Knowing how to care for Camellia varieties is crucial for gardens. Camellia japonica blooms in winter, while Camellia sasanqua charms in autumn. Visit Flowers Gardenia for tips on these beautiful plants.
Choosing the Ideal Location for Camellias
Finding the perfect spot for your camellia garden is key for great plant health and lots of blooms. Sunlight and soil are very important for camellia planting and growth.
Understanding Sunlight Needs for Optimal Growth
Camellias do well in places with filtered sunlight or partial shade. This protects them from the strong afternoon sun. Young plants are especially sensitive to too much sun.
The Camellia sasanqua can handle more sun than Camellia japonica. This makes it a good choice for different spots in the camellia garden.
The Importance of Soil Conditions for Camellias
For camellia planting, the soil should be well-drained but keep moisture in. It also needs to be acidic soil. A pH level of 5.5 to 6.5 is best for camellias.
To get the right soil, test it and add organic matter or peat moss if needed. Mulching also helps keep the soil moist and cool. This is good for the plant health.
For more tips on growing camellias, check out camellia care. It covers everything from preparing the soil to controlling pests.
| Characteristic | Requirement |
|---|---|
| Sunlight | Filtered light or partial shade |
| Soil Type | Moist, well-drained, acidic |
| pH Level | 5.5 to 6.5 |
| Soil Amendment | Organic matter, peat moss |
| Mulching | Required for root moisture and coolness |
Essential Camellia Planting Techniques
Learning how to plant camellias is key to their healthy growth. Knowing the right depth and soil mix is crucial. This knowledge helps camellias grow well in your garden.
Proper Planting Depth and Method
For camellia planting techniques, it’s important to know the right depth. Plant them a bit above ground level, so the root ball’s top is just showing. This stops water from gathering around the stem and causing rot.
Make sure the hole is twice as wide as the root ball. This lets the roots spread out easily. Adjust the soil at the base to set the plant at the right height.
Plant camellias in early spring or autumn for the best start. Visit Flowers Gardenia for more tips on when and how to plant.
Maximizing Growth with the Right Soil Amendments
For healthy growth, the right soil mix is key. Camellias do well in acidic soil, with a pH of 5.5 to 6.5. Add organic stuff like leaf litter or pine bark to the soil. This improves its structure, keeps moisture in, and gives nutrients.
But don’t overdo it with the mulch. Too much can keep the soil too wet and cause fungus.
Here’s a table with important camellia care tips:
| Parameter | Recommendations |
|---|---|
| Planting Depth | Top of root ball slightly exposed |
| Soil pH | 5.5 – 6.5, acidic |
| Soil Amendments | Organic material like pine bark |
| Watering Frequency | 1 inch per week during active growth |
By following these camellia planting techniques, you’ll set your camellias up for success. They’ll grow strong and bloom beautifully all season.
The Rudiments of Watering Camellias
Effective camellia care starts with knowing how to water them right. This is key for their survival and growth. Camellias need the right amount of water to avoid too much or too little.
To keep camellias healthy, follow a watering plan that matches their needs. Water them deeply twice a week to keep the soil moist. But, in dry winter, be extra careful not to let the soil dry out.
Mulching is crucial for keeping soil moist and cool around camellias. Use organic mulch to help the soil and stop weeds. In the spring, give them a special fertilizer to make them bloom more.
Make sure camellias are protected from strong winds that can dry them out and hurt their flowers. The idea of “right plant, right place” from Nature is a Life Inspiration shows how important it is to put camellias where they feel at home.
- Soil Moisture: Keep evenly moist, especially when it’s dry.
- Watering Schedule: Water deeply twice a week instead of a little every day to help roots grow strong.
- Mulching: Use organic mulches to keep moisture in and control soil temperature.
- Fertilization: Feed them with special camellia food once a year after they bloom, to get ready for next year.
Learning how to water camellias well helps them grow and bloom better. It also keeps them healthy and free from diseases and pests. Check the soil often and adjust watering based on the season to grow beautiful, healthy camellias.
Mastering Camellia Fertilization
Camellias come in over 3,000 types, each with unique colors, shapes, and sizes. They need special care to stay bright and healthy. Camellia fertilization is key to their health. It’s important to know the best fertilizers for these plants.
Decoding Fertilizer Formulas for Camellia Health
Camellias do best with slow-release fertilizers that feed them steadily. Fertilizers with an NPK ratio of 12-4-8 or 16-4-8 are perfect for them. These types help Camellia japonica and Camellia sasanqua grow and bloom well.
During the early growing stages, a nitrogen-rich fertilizer is key. It helps them grow strong and prepares them for next year’s flowers. But, don’t overdo it, as too much fertilizer can harm the plant.
| Camellia Type | Preferred Fertilizer Type | Recommended Fertilizing Period |
|---|---|---|
| Camellia japonica | Slow-release, Nitrogen-rich | Spring, after flowering |
| Camellia sasanqua | Slow-release, Acidic fertilizer | Early spring and late summer |
Learning about how to protect your garden is also important. It helps you understand how to keep your garden safe and green.
Following these tips will make your camellias healthier and more beautiful. By picking the right fertilizer, you create a garden that looks great and lasts.
Implementing Effective Pruning Strategies for Camellias
To make sure your camellias thrive and bloom beautifully, learning camellia pruning is key. This task is crucial for both looks and plant health. Knowing when and how to prune can greatly improve your camellias’ blooms in future seasons.
Timing Your Pruning for Maximum Blooming
Pruning at the right time is vital to avoid harming the buds. Prune after the blooming ends, usually in late spring or early summer (May or June). This avoids cutting off next year’s buds, which are important for blooms. Regular pruning also encourages new growth and keeps the plant size under control.
Pruning Techniques for Sasanqua and Japonica Varieties
Each camellia type has its own pruning needs. For Sasanqua and Japonica, remove dead or sick branches to stop disease spread. Thin branches to let in light and air, which helps the plant stay healthy. Always use clean, sharp pruners and cut just above last year’s growth mark to encourage new growth.
| Pruning Action | Objective | Technique |
|---|---|---|
| General maintenance | Maintain size and promote health | Cut back up to 3 inches off branch ends to maintain form and encourage bushiness. |
| Shape correction | Reshape overgrown plants | For severe overgrowth, initiate a hard prune in late winter, followed by a secondary shaping in late spring. |
| Enhancing bloom potential | Stimulate flowering | Prune immediately after flowering in late spring, targeting twiggy branches to invigorate growth. |
Using these pruning techniques will keep your camellias looking great and make them more vigorous. Seasonal pruning is a key part of garden maintenance. It greatly helps with the health and beauty of your garden.
Camellia
The Camellia genus is known for its beauty and diversity, making it a favorite in gardens around the world. It offers two main ways to grow: espalier camellias for unique garden art and container-grown camellias for elegant looks. These methods suit different gardening styles and spaces, making gardens more beautiful and practical.
The Delight of Espalier: Training Camellias for Unique Garden Art
Training camellias as espalier turns them into living sculptures. These plants become a centerpiece in gardens, using limited space well. The process involves pruning and tying the plants flat, often against a wall or trellis.
This creates a beautiful visual effect. Regular pruning keeps the plants looking great and encourages lots of flowers.
Container-Grown Camellias: Care Tips for Potted Beauty
For gardeners needing flexibility, container-grown camellias are ideal. They work well in small spaces or on rocky ground. Success with these plants depends on using the right potting mix and pots that are big enough but not too big.
It’s important to water them well, but not too much. Potted plants dry out quickly and can get root diseases from too much water.
| Feature | Espalier Camellias | Container-Grown Camellias |
|---|---|---|
| Space Efficiency | High | Moderate to High |
| Visual Impact | High – Artistic Patterns | High – Versatile Placement |
| Care Level | High – Regular pruning and training | Medium to High – Frequent watering and monitoring |
| Ideal for | Formal gardens, unique garden art | Patios, balconies, areas with poor soil |
Using espalier and container cultivation makes gardens more beautiful and functional. These methods help camellias grow well, adding to the garden’s look while fitting different garden styles and sizes.
Protecting Camellias from Common Pests and Diseases
Camellias are known for their beauty and strength. But, they need careful care to stay healthy. By knowing how to protect them, you can keep these lovely shrubs safe from pests and diseases.
Preventative Measures for Maintaining Plant Health
Keeping camellias healthy starts with prevention. Regular checks, good care, and acting fast are key. Make sure the soil drains well to avoid root rot and keep plants apart to stop fungal infections.
Mulching and watering right keep the soil moist and at the right temperature. This is good for the plants.
Identifying and Treating Common Camellia Ailments
Spotting camellia diseases early helps control them. Dieback and canker, from Glomerella cingulata, show as gray spots on stems and yellow leaves. Cut out the bad parts to stop it from spreading.
Flower blight, from Ciborinia camelliae, makes flowers rot. Remove these to stop the disease from spreading.
Fungal diseases like root rot from Phytophthora cinnamomi are big problems. Improve the soil and use fungicides if needed. Tea scale and other pests like aphids and mites can also harm camellias. Use a mix of natural controls and insecticides carefully to keep them under control.
To wrap it up, taking steps to prevent problems and acting fast when you see pests or diseases is key. This way, camellias can stay beautiful in your garden for many years.
Camellia Propagation for the Home Gardener
For the home gardener, camellia propagation is a great way to grow your garden. It saves money and keeps special camellia varieties alive. You can use cuttings or air layering to grow more plants with care.
Propagating Camellias Through Cuttings
Using cuttings is a top choice for growing camellias. Pick small twigs with one to three leaves. These cuttings root fast and might bloom sooner, taking 6 to 16 weeks to root. Blooms appear in about three to four years.
Don’t overwater these cuttings to avoid failure. For those new to this, Clackamas Community’s plant propagation courses are a great start.
Air Layering Technique for Camellia Multiplication
Air layering is another good way to grow camellias. It involves making a growth medium around a stem on the plant. This encourages roots to grow while it’s still attached.
This method is a bit harder but gives you bigger, stronger saplings. Keep it moist and protect it from harsh weather for best results. Rooting times vary but are similar to cutting methods.
Both camellia propagation methods offer a rewarding gardening experience. With the right care and the right food like Miracle-Gro Azalea, Camellia, and Rhododendron Soluble Plant Food, your plants will thrive. Deadheading and watering well in summer keeps them healthy and ready for next year’s blooms.
By growing more camellias, you make your garden more diverse and connect deeper with gardening. Each new bloom becomes a personal achievement.
Conclusion
The journey of camellia care ends with vibrant gardens and gardening success. With the knowledge from before, gardeners can grow these beautiful shrubs. They bring beauty all year long.
Camellias need the right spot, sun, and soil to thrive. With care, your garden can become a peaceful place full of nature’s beauty.
Every part of camellia care is important. Choosing the right species for your area and pruning correctly helps them bloom well. Studies show camellias are good for health, too.
These plants are not just pretty. They are also good for you. Research shows they have many health benefits. This makes them very special.
Camellias have been around for a long time. They show the connection between people and nature. Taking good care of them keeps their beauty going.
To keep the tradition alive, we must care for camellias. By following these tips, your garden will be beautiful and full of life. Camellias show beauty and strength all year.


